Step 1 — Prepare your garment photo
Start with a clean, well-lit image of the garment — a flat lay, ghost-mannequin or clear product shot works. Make sure the whole garment is visible and in focus; the better the input, the more accurate the on-model result.
Step 2 — Choose your model and scene
Pick a model that fits your brand and audience — age, body type, ethnicity and pose — then choose a studio or lifestyle background. For diverse model options, see the AI fashion model generator.
Step 3 — Generate and refine
Generate the image and review it at full size. Try a couple of poses or backgrounds to get variety for the product page. Each render takes seconds, so it's cheap to experiment until the look is right.
- Generate multiple angles per garment
- Keep one model/lighting setup for consistency
- Check fabric, fit and colour against the real product
Step 4 — Export and publish
Export up to 4K and publish to your store, marketplace or ad. To scale this into a full catalog, use the catalog generator; to learn the flat-lay conversion specifically, see the flat lay to model guide.
Prefer it done for you? Our editor service delivers finished photoshoots per image.
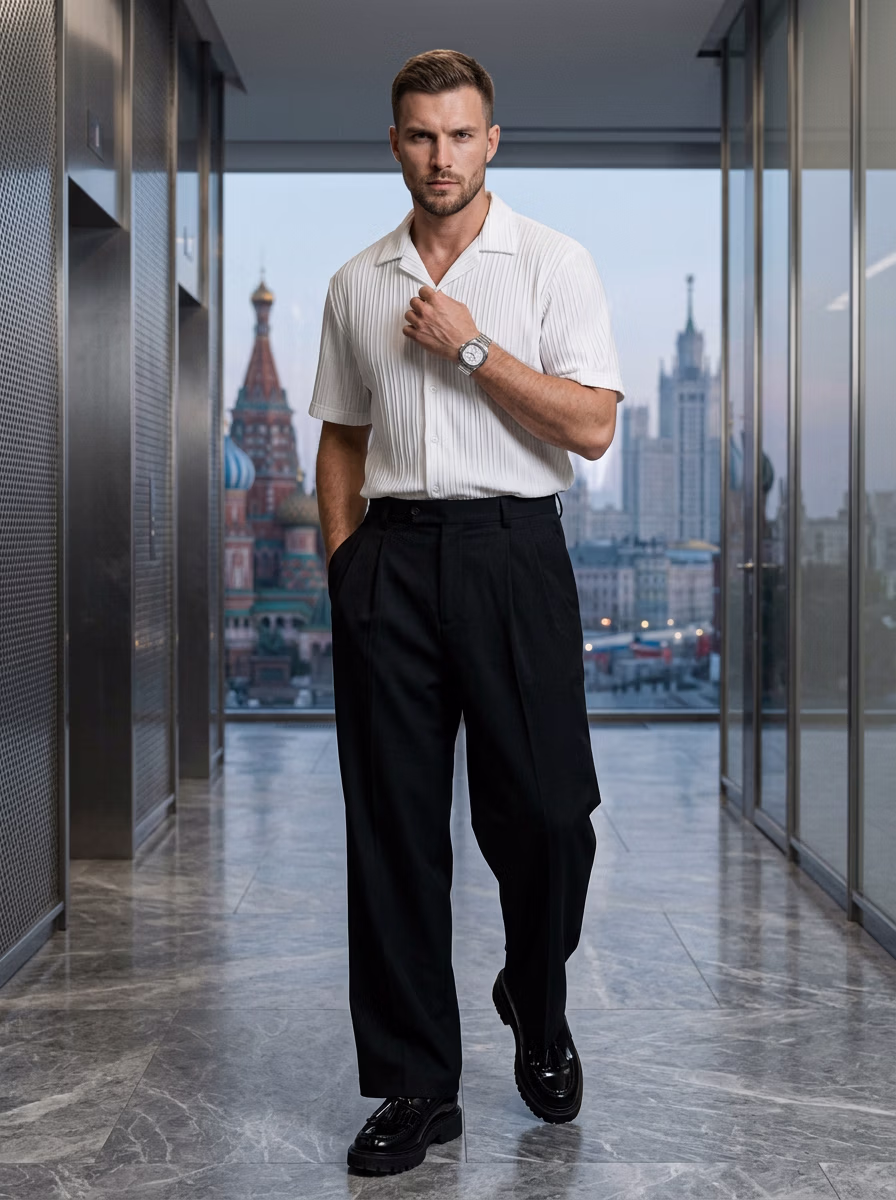
Ready to create on-model photos?
Upload a garment and let VERA generate photorealistic AI fashion model shots in seconds — no studio, model, or photographer.
Frequently Asked Questions
Do I need photography skills?
No — VERA handles lighting, posing and scene. You just provide a clear garment photo and pick your options.
How many images can I make per garment?
As many as you want — different poses, angles and backgrounds, each generated in seconds.
What input photo works best?
A clean, well-lit, full-garment flat lay or ghost-mannequin shot gives the most accurate result.
Can I do a whole collection?
Yes — reuse the same model and setup across products, or use the catalog generator and editor service for volume.